Creating my Blog
Creating my Blog
Silent Reading Time: 9 mins 21 secs
In my current role I lead an agile chapter for Data Engineers focussing on data modelling and design. In that role I started writing and sharing short blogs and decided one of them could be about setting up a blog using GitHub Pages and Jekyll.
So here we go…
I’m going to use GitHub Pages and Jekyll to create a blog.
What is GitHub Pages?
GitHub Pages is a static site hosting service that takes HTML, CSS, and JavaScript files straight from a repository on GitHub, optionally runs the files through a build process, and publishes a website.
You can generate these static files manually or using a static site generator. By default, GitHub Pages is set up to work with Jekyll.
What is Jekyll?
Jekyll is a static site generator written in Ruby. It is the most popular static site generator, mainly due to it’s incorporation into GitHub Pages.
It provides a simple framework to generate static site content using Liquid templating, Markdown, HTML and CSS.
One of it’s key features is that it is “blog-aware” - as standard Jekyll recognises and provides standard blog features making it simple and easy to use.
Getting Started
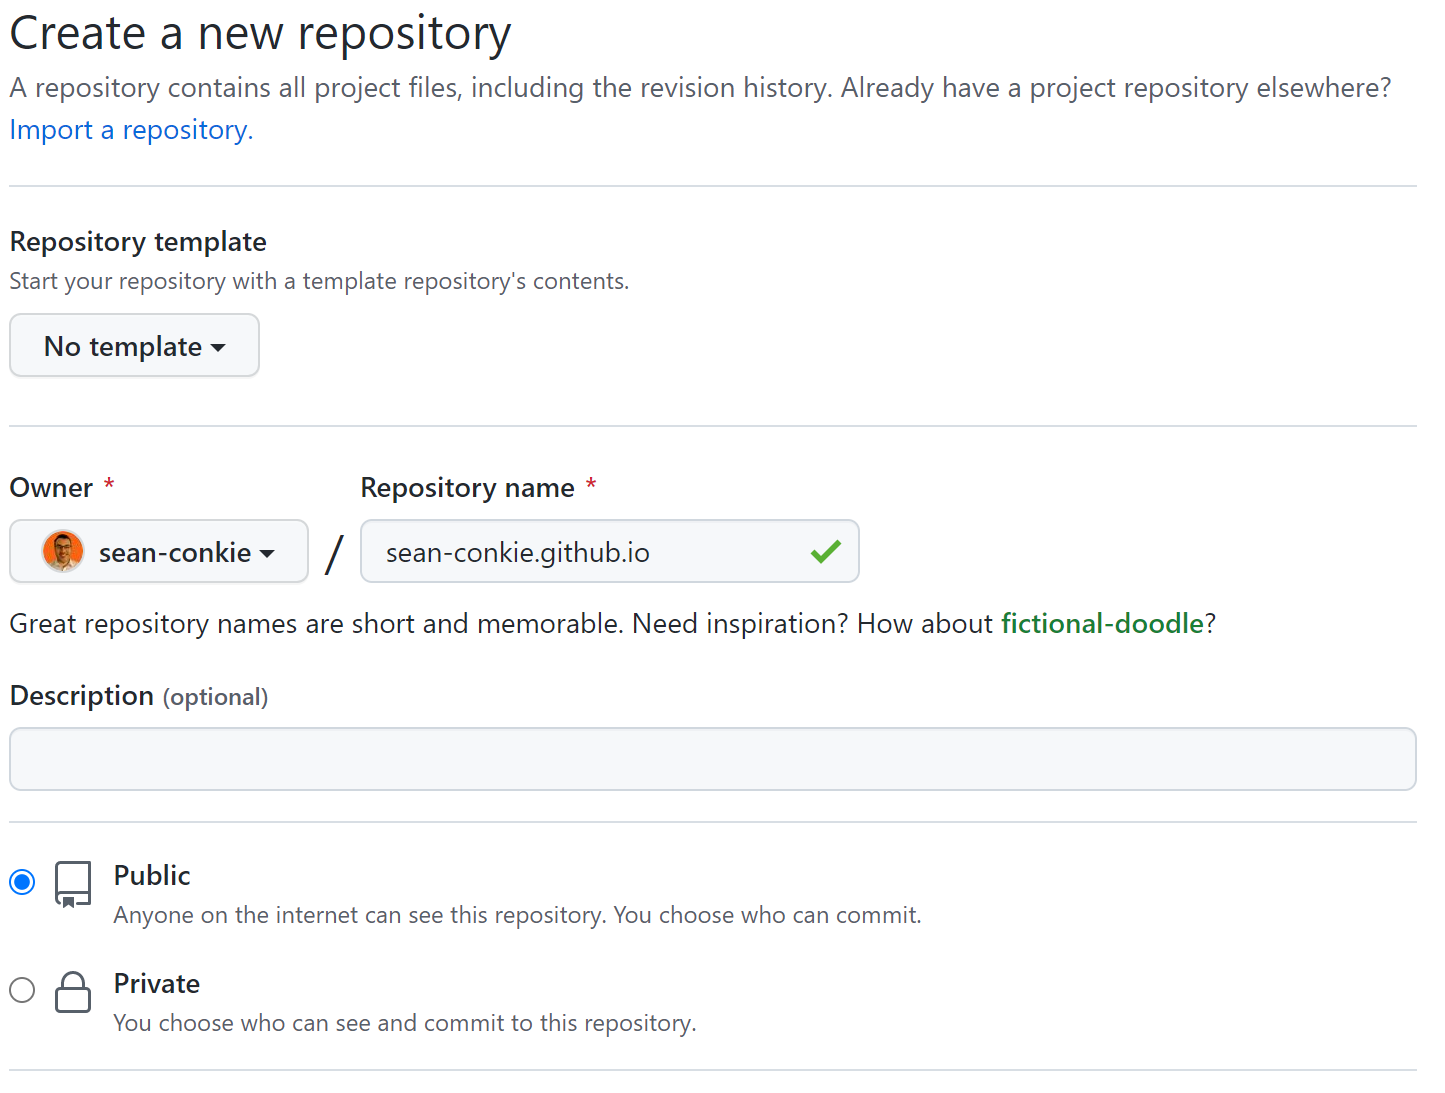
Create a repository
Starting with GitHub Pages is easy, we can start by simply creating a new public repository named after our GitHub username and “.github.io”: e.g. <user-name>.github.io.
Add a file
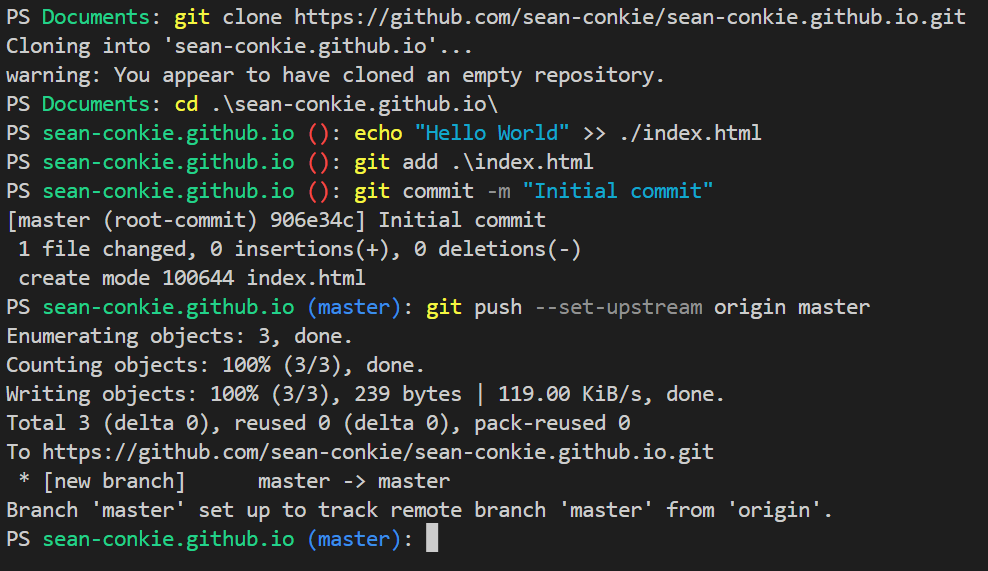
Now that it’s been created, we can clone our repository and initialise it with a simple file.
First, clone your repository and change directory
git clone <your repo url>
cd <your repo path>
Create a file index.html containing the text “Hello World”.
echo "Hello World" >> ./index.html
You can now commit the file and push it to your remote repository.
git add ./index.html
git commit -m "Initial commit"
git push --set-upstream origin master
Test the site
Now that you’ve pushed the first file to your remote repository it will automatically be served as a static site if you navigate to your repository name in your browser.

Jekyll
Like many static generators, in Jekyll we define templates for how our pages will look; Jekyll splits these into layouts for page structures and includes for repeated sections, such as a footer or page navigation. These templates are .html files which use Liquid tags to incorporate content on build.
What are Liquid tags?
Liquid is used to dynamically output objects and their properties. These objects are passed to the template from the server side, or in the case of Jekyll as part of the build process.
Liquid tags are used to define logic that tells templates what to do.
A quick overview on using tags
Basics
Objects can be rendered using double curly braces: ``.
Data
{
	"page_title": "Health potion",
	"page_description": "Are you low on health? Well we've got the potion just for you! Just need a top up? Almost dead? In between? No need to worry because we have a range of sizes and strengths!"
}
Code
<title>
  {{ page_title }}
</title>
<meta name="description" content="">
Output
<title>
  Health potion
</title>
<meta name="description" content="Are you low on health? Well we've got the potion just for you! Just need a top up? Almost dead? In between? No need to worry because we have a range of sizes and strengths!">
Defining logic with tags
As well as rendering data on the page, Liquid tags can define logic to dynamically change the template on render. Text within tag delimiters doesn’t produce visible output when the webpage is rendered.
Condition tags are defined by a single curly brace and a percent sign: {% if condition %}
These tags give you options for if statements, loops and other similar operations.
Data
{
  "products": [
    {
      "title": "Health potion"
    },
    {
      "title": "Mana potion"
    }
  ]
}
Code
{% for product in products %}
  <div>
    <h2>{{ product.title }}</h2>
    {% if product.title == 'Mana potion' %}
      <p>This is a rare potion. Use it sparingly!</p>
    {% endif %}
  </div>
{% endfor %}
Output
  <div>
    <h2>Health Potion</h2>
  </div>
  <div>
    <h2>Mana Potion</h2>
    <p>This is a rare potion. Use it sparingly!</p>
  </div>
Modifying output with filters
Liquid filters are used to modify the output of variables and objects. To apply filters to an output, add the filter and any filter parameters within the output’s curly brace delimiters, preceded by a pipe character.
Multiple filters can be used on one output. They’re parsed from left to right.
Filters are placed within an output tag and denoted by a pipe character: {{ | }}.
Data
{
  "product": {
    "title": "Health potion"
  }
}
Code
<h2>{{ product.title | upcase | remove: 'HEALTH' }}</h2>
Output
<h2>POTION</h2>
Page Content
Page content is defined in markdown (“.md”) files, these are distinguished from templates by the folder structure.
Directories starting with an underscore (i.e. “_posts”) contain all your templates and blog pages. The exception being the _site folder which is where Jekyll puts all your pages once it has built the website.
Blog posts and drafts can be put inside other directories, this will change the URL for the published post - i.e. /blog/2021/01/01/my-first-post.html.
.
├── _drafts
│   └── a-draft-post.md
├── _includes
│   └── header.html
├── _layouts
│   └── default.html
├── _posts
│   └── 2022-09-30-a-published-post.md
├── _site
├── blog
│   └── _posts
│       └── 2021-01-01-my-first-post.md
├── index.md
...
When writing our pages, we use the markdown front matter to define some key metadata:
---
layout: post
title:  "Creating my Blog"
tags: git jekyll github github-pages
---
The intended layout of the page is defined with the layout tag, in this case it is a “post”. I’ve then defined the page title with the title tag.
Finally, I’ve added tags to the page using the tags tag. This is followed by a list of the desired tags.
Tags frontmatter is not actually supported in GitHub Pages but I’ll cover how to add this functionality later in this post.
Installing Jekyll
This can be done on Windows via windows MSI or using Windows Sub-System for Linux (WSL).
I first tried installing via WSL but gave up after coming across some dependency issues, so the following just uses the windows installer. A guide can be found here.
With the Windows installer we have 4 steps:
- Download and install a Ruby+Devkit version from RubyInstaller Downloads. Use default options for installation.
- Run the
ridk installstep on the last stage of the installation wizard. This is needed for installing gems with native extensions. You can find additional information regarding this in the RubyInstaller Documentation. From the options choose MSYS2 and MINGW development tool chain. - Open a new command prompt window from the start menu, so that changes to the PATH environment variable becomes effective. Install Jekyll and Bundler using
gem install jekyll bundler - Check if Jekyll has been installed properly:
jekyll -v

Creating a Jekyll site
Now that Jekyll is installed a site can be created. This needs an empty directory so the first thing to do is to remove the basic page:
rm ./index.html
We can then install the new site into the empty directory:
jekyll new --skip-bundle ./

Now that the site has been installed there is one final step before you can start creating pages, that is to edit the Gemfile.
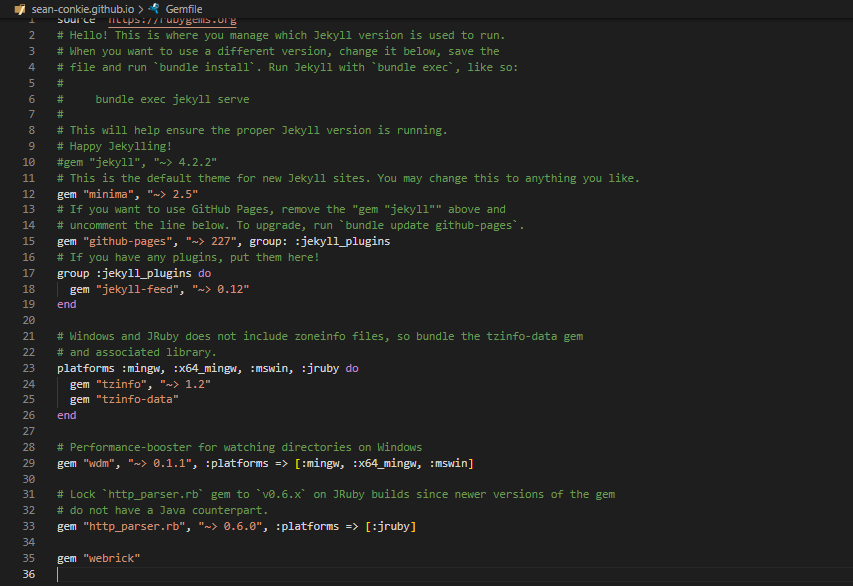
First up is to comment out the line starting gem "jekyll" and to un-comment the line starting gem "github-pages".
Finally, add gem "webrick" to the file.
Now we’re ready to run our Jekyll site for the first time, to do this locally run:
bundle exec jekyll serve
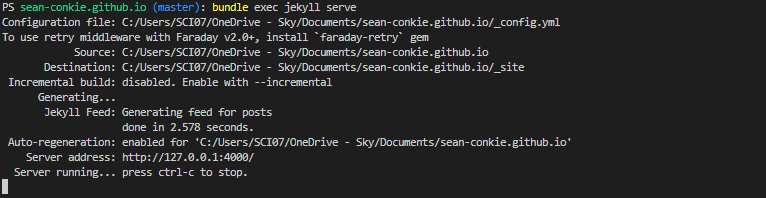
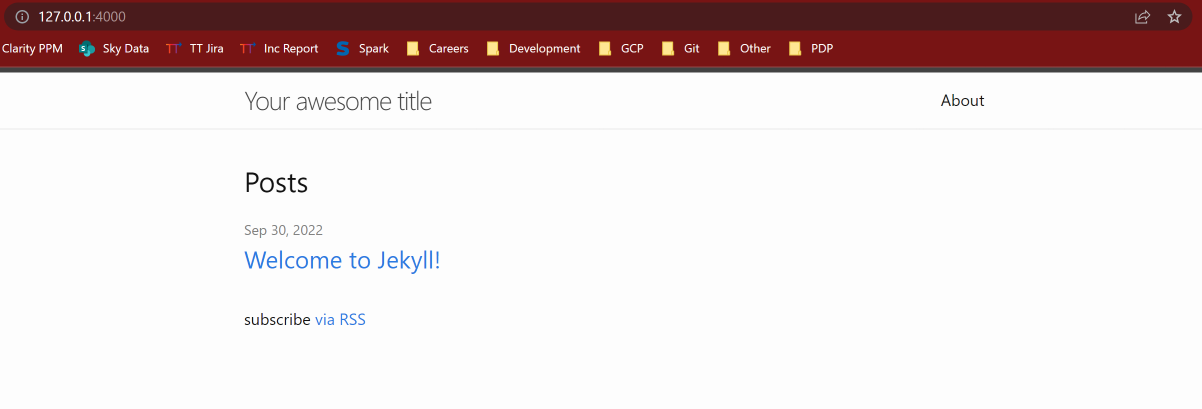
You can now navigate to the url provided in your termainal as “Server address”:
Server address: http://127.0.0.1:4000/
Deploying the Site
My site is sourced from the root of my master branch, although you can choose to do this from a specific branch or folder and can find more details on this here. This means that all I need to do to deploy changes to my site is to push a commit to my master branch, or to merge a PR into it.

Once a new deployment is committed to the publishing source a GitActions workflow kicks off to handle the deployment of the site. You can watch this by navigating the Actions tab of your repository.

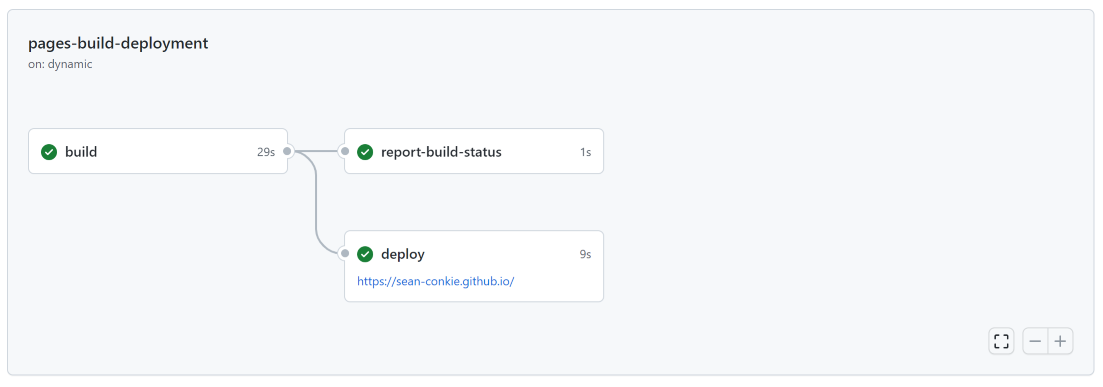
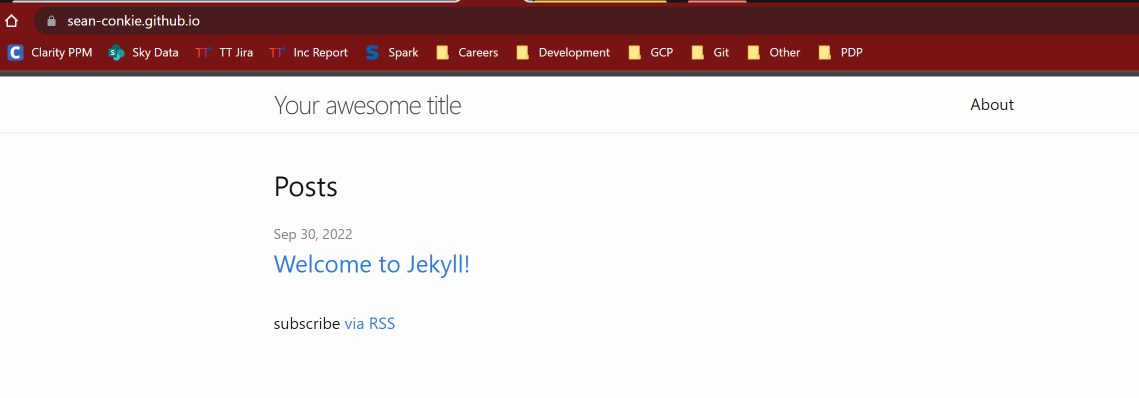
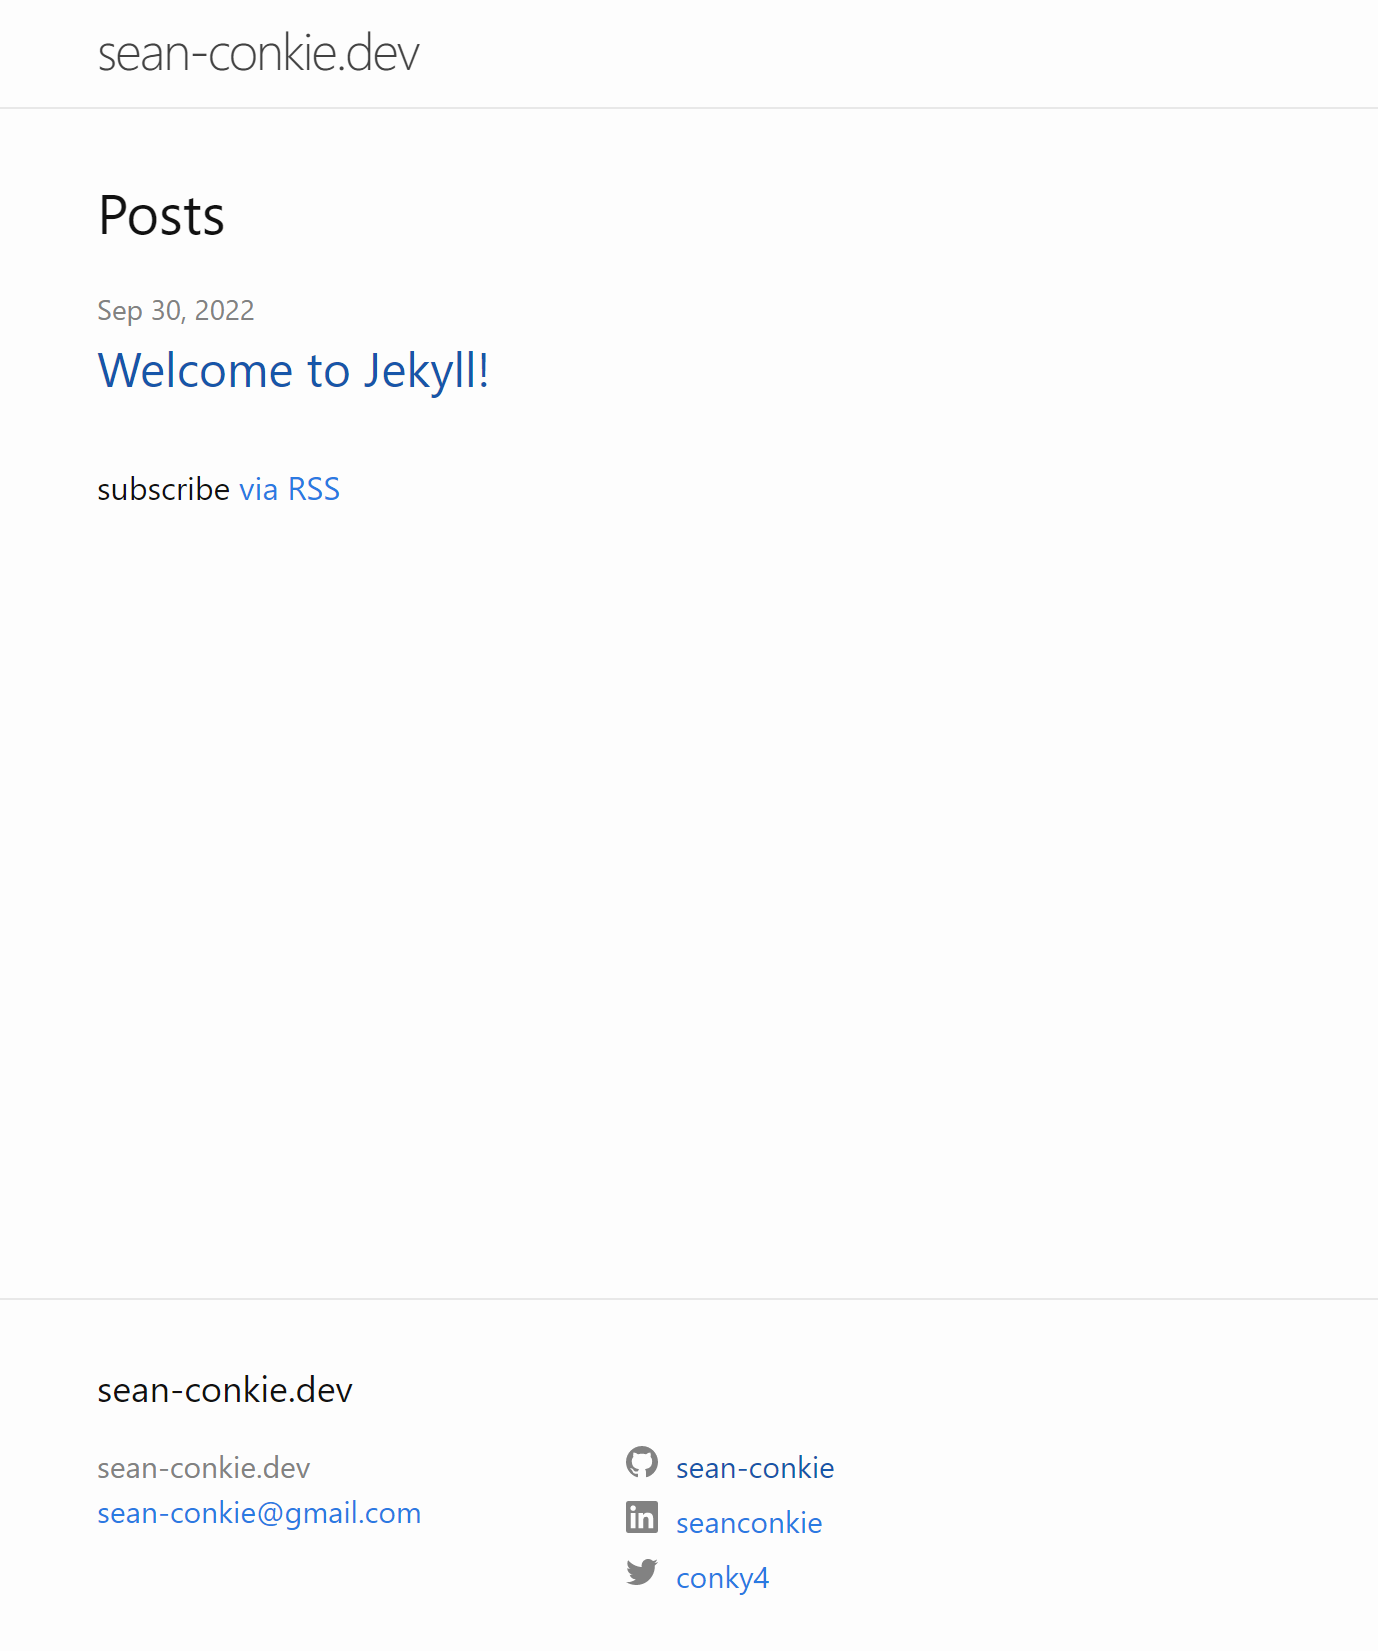
After the workflows complete you can now navigate to the repository name in the browser to see the starting Jekyll site.
Customisation
The basic Jekyll site gives a simple framework which can be expanded on. Additional themes can be installed or you could create or customise your own.
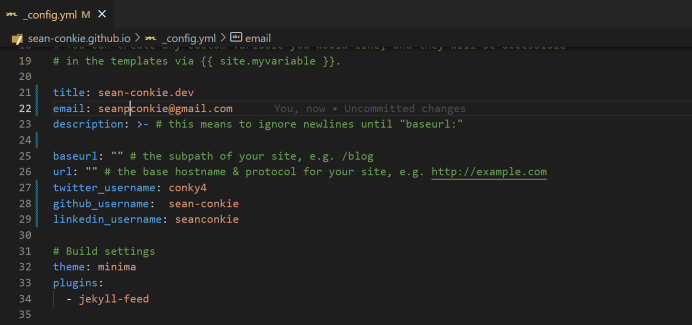
Some simple changes to make straight away are updating the name and contact info. This can all be done using the site config file: _config.yml. There are a number of configuration options, more details can be found here.
Adding tags
First up, this isn’t my code but the original blog can be founder here - thanks to the internet I’ve no need to think for myself.
Like earlier in the post we add tags to pages in the frontmatter:
---
layout: post
title:  "Creating my Blog"
tags: git jekyll github github-pages
---
The tags on each page can then be captured from the frontmatter and displayed on a page:
<span>
{% for tag in page.tags %}
{% capture tag_name %}{{ tag }}{% endcapture %}
<a href="/tag/{{ tag_name }}">
<code class="highligher-rouge">
<nobr>{{ tag_name }}</nobr>
</code>
</a>
{% endfor %}
</span>
This code can be added to the post.html layout in _layouts/ to add it to every blog post.
The next part is to create the page for each tag, linked in the above code. For this, just like my other pages I create a makrdown file, but for these all I add is the frontmatter:
---
layout: tagpage
title: "Tag: bigquery"
tag: bigquery
exclude: true
---
The
exclude: truestops all the tags being included in the nav bar at the top of the page.
These pages are going to need a layout, tagpage, so this is defined and saved in the _layouts/ directory:
---
layout: default
---
<div class="post">
  <h1>Tag: {{ page.tag }}</h1>
  <ul>
  {% for post in site.tags[page.tag] %}
    <li><a href="{{ post.url }}">{{ post.title }}</a> ({{ post.date | date_to_string }})<br>
      {{ post.description }}
    </li>
  {% endfor %}
  </ul>
</div>
<hr>
In the layout we loop through each page which has this tag and add it to a list. To achieve this we need the site.tags property, this is created with the following code:
{% assign rawtags = "" %}
{% for post in site.posts %}
  {% assign ttags = post.tags | join:'|' | append:'|' %}
  {% assign rawtags = rawtags | append:ttags %}
{% endfor %}
{% assign rawtags = rawtags | split:'|' | sort %}

{% assign site.tags = "" %}
{% for tag in rawtags %}
  {% if tag != "" %}
    {% if tags == "" %}
      {% assign tags = tag | split:'|' %}
    {% endif %}
    {% unless tags contains tag %}
      {% assign tags = tags | join:'|' | append:'|' | append:tag | split:'|' %}
    {% endunless %}
  {% endif %}
{% endfor %}
This code is saved in collecttags.html and saved in the _includes/ folder. I add this to my site using the custom-head.html file, also in _incudes/: this adds any code to the sites <head> tag when built and could be used for customer css or javascript.
customer-head.html
{% if site.tags != "" %}
  {% include collecttags.html %}
{% endif %}
Custom Domain
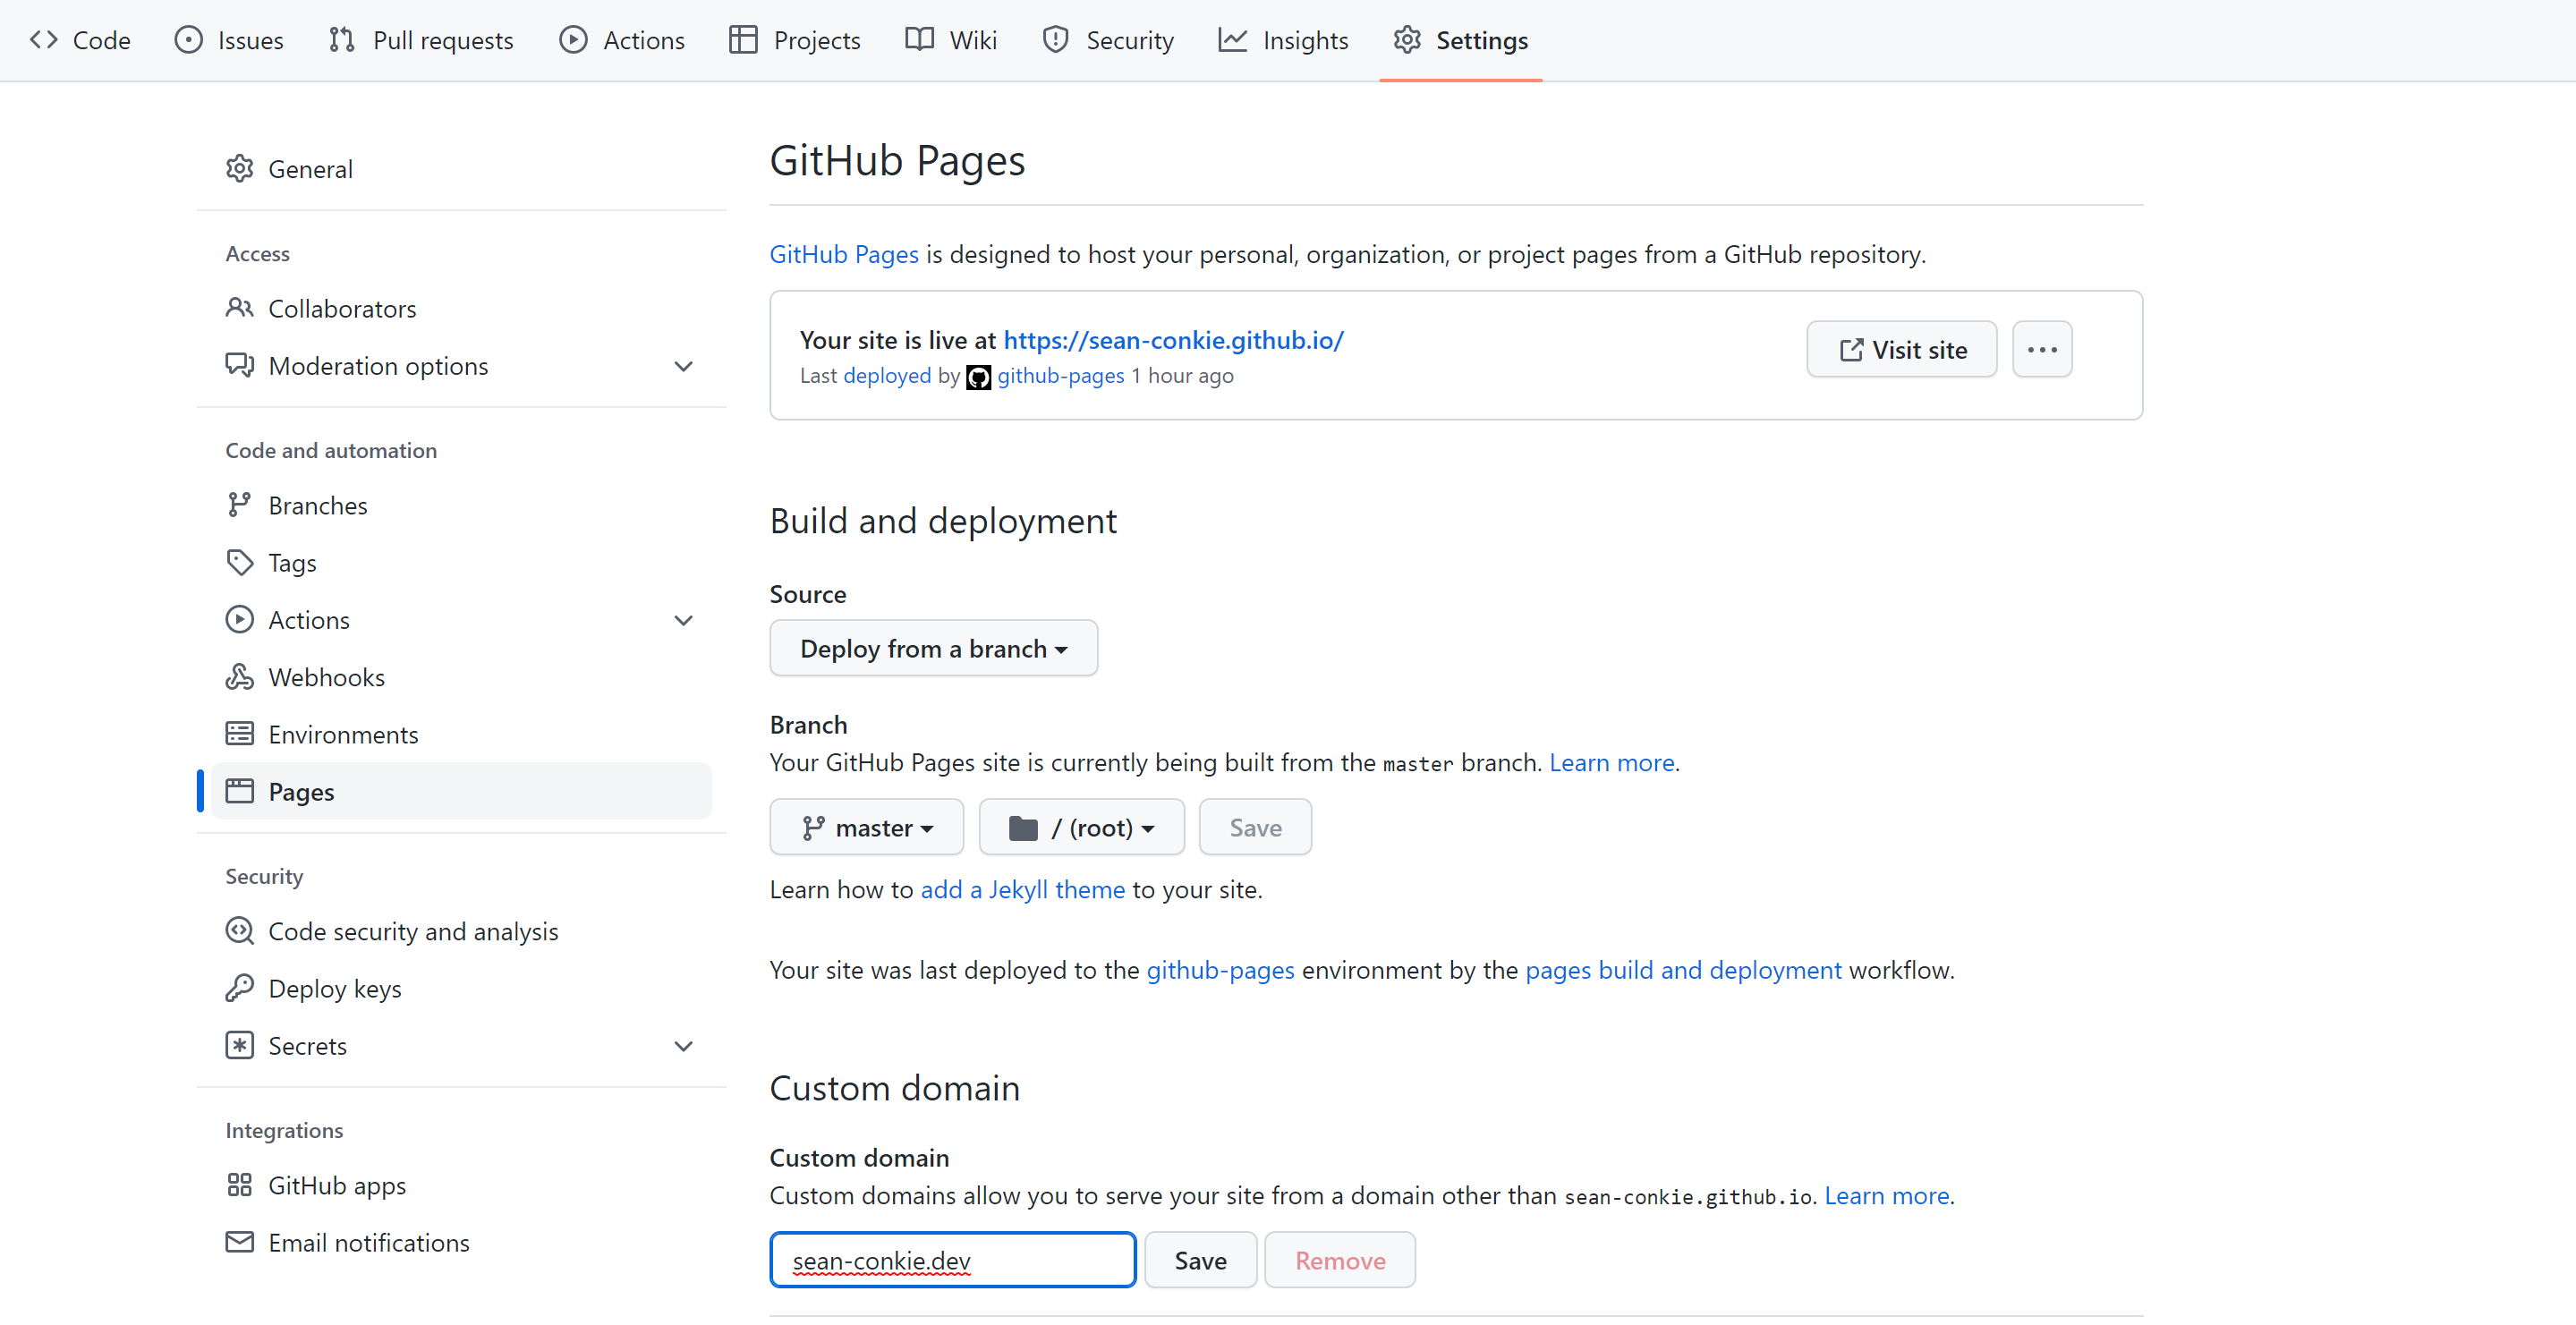
So far, I’ve accessed my published site from sean-conkie.github.io, but you can also route traffic from your custom domain, or sub-domain.
For my blog I purchased sean-conkie.dev and also used the sub-domain www.sean-conkie.dev.
To add your customer domain, navigate to the Pages section of the settings tab of your repository and add the custom domain. This generates a CNAME file in your repository.
You’ll also need to create some A/Alias records (or AAAA for IPv6) with your DNS provider - I used Google Domains but any provider will allow this.
These records contain the IP ranges for GitHub Pages.

Once you’ve added these you can check they are updated using a dig command.

DNS changes can take around 24hours to fully propagate but then you’ll be routed to your Jekyll site from your customer domain.
What’s next?
I’ve now got a website up and running which costs me nothing, other than the annual £10 domain registration. Next up I want to customise the styling and I’ll continue to work on content.
I’ll continue to share how I’ve achieved any changes I make.
git jekyll github github-pages